
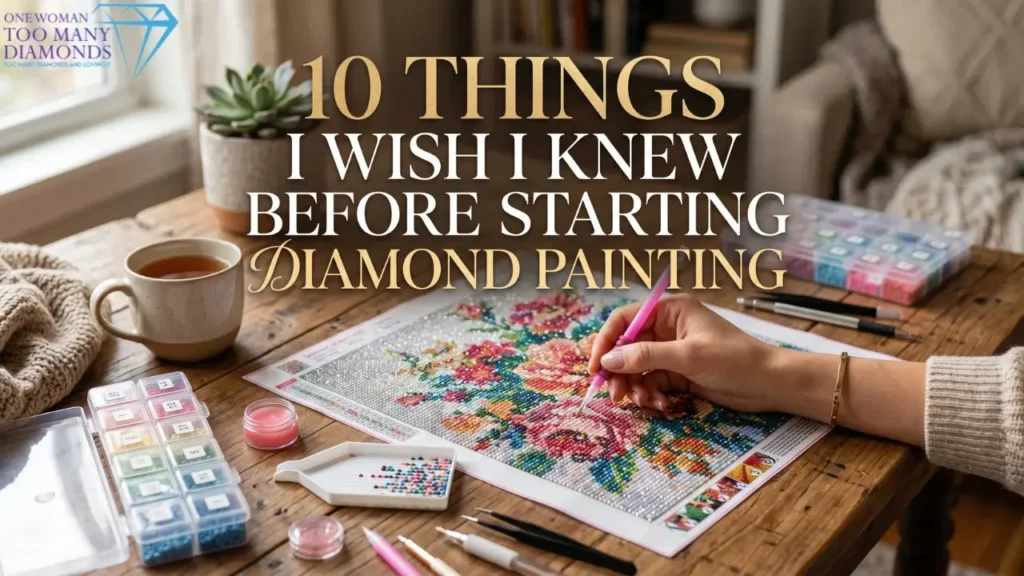
Hi, it’s Daphne! When I first transitioned from messy paint pouring in my hot Florida garage to diamond painting, I was completely blind to the little tricks of the trade. I learned by trial and error! To save you some frustration, here are 10 things I truly wish I knew before I placed my very first sparkling drill.
1. Start with a Smaller Canvas
When you look online, those massive, gorgeous canvases are so tempting. But trust me, start small (like a $30\times30$ cm or $30\times40$ cm). A smaller project gives you a quick win, helps you practice your technique, and won’t leave you feeling overwhelmed.
2. Storage Absolutely Matters
Your kit will come with little plastic baggies, but as your color collection grows, organization is key. Invest in a dedicated storage box with small plastic jars or containers. Labeling them with the DMC color codes right away will save your sanity!
3. Good Lighting Helps (And Saves Your Eyes)
Trying to read tiny canvas symbols under a regular living room lamp will strain your eyes very quickly. A good magnifying lamp or a sleek LED light pad placed right under your canvas makes the symbols pop out instantly.
4. Don’t Peel All the Covers Off
This is a classic beginner mistake! The plastic or parchment sheet over your canvas keeps the poured glue sticky and free of dust, pet hair, or stray fuzz. Only peel back a tiny section at a time, work on it, and leave the rest covered.
5. Save Your Extra Drills
When you finish a kit, you will almost always have leftover diamonds. Don’t throw them away! Put them in a jar or storage bag. They are wonderful for fixing accidental spills later, doing small custom crafts, or substituting a missing color in a future kit.
6. Framing Costs More Than Expected
We all love seeing our finished artwork shine, but professional custom framing can be incredibly expensive. Before you buy a giant canvas, look up standard frame sizes so you can buy budget-friendly ready-made frames instead.
7. The “Trash” Drills are Normal
Don’t panic if you find misshapen, stuck-together, or holey diamonds in your bags. Kits include extra drills specifically because a small percentage will be “trash.” Just toss them aside and use the good ones.
8. Your Neck and Back Will Remind You to Sit Up
It is so easy to get lost in the diamond zone and lean over your table for hours. Make sure you use an angled easel, a diamond painting wedge, or simply remember to take regular breaks to stretch.
9. Wax Isn’t Your Only Option
The pink wax that comes with your kit is great, but it can dry out or lose its grip. Later on, you might want to try Blu-Tack or special diamond painting putty—they tend to last much longer in your pen tip!
10. It’s a Hobby, Not a Race
There is no deadline! Whether a canvas takes you three days or three months, the joy is in the quiet process of placing one diamond at a time. Enjoy the journey.
Final Thoughts
Looking back, I think I would have enjoyed my first few projects a lot more if I knew these things.
Diamond painting itself isn’t difficult. It’s the small details that make it smoother. Start simple. Stay organized. Take your time with it.
There’s no rush. And honestly, that’s the whole point of it.
It’s one of the few hobbies where slowing down actually feels good, and that’s exactly what makes it so enjoyable, something One Woman Too Many Diamonds quietly captures through its beginner-friendly designs.